How to fix 5 common PS4 controller issues
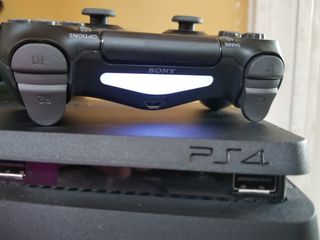
PS4 gamers know all too well how a bad controller can ruin their day, but you don't have to put your gaming on hold or go out and buy one of the best PS4 controllers when yours is on the fritz. Here are some common issues you may run into with your DualShock controller, as well as suggestions on how you can fix them.
Products used in this guide
- SecurOMax HDMI cable with braided cord - 15ft
- 6-Pack of MagicFiber microfiber cleaning cloths
- 3-Pack of Office Depot compressed air cans
- MG Chemicals 99.9% isopropyl alcohol electronics cleaner
- MPF Products DualShock 4 battery replacement kit
- MABIS stainless steel tweezers
- DualShock 4 wireless controller
What to do when your PS4 controller doesn't connect
- First, try plugging your DualShock 4 into the PS4 using your USB cable.
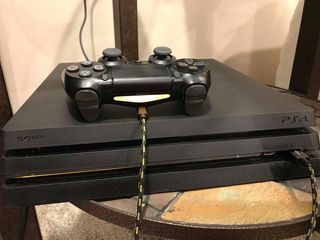
- Press and hold the PlayStation button on the center of your controller. This will prompt the controller to resync.
If your DualShock still isn't connecting to your PS4, try these steps instead.
- Turn off your PlayStation 4.
- Connect your DualShock 4 controller to a USB cable that is connected to your PS4.
- Press and hold the PlayStation button on the center of your controller. This will prompt the controller to resync at startup.
If neither of those options works, you'll need to reset your controller entirely.
- Look on the rear of the controller for a tiny hole located next to the L2 button.
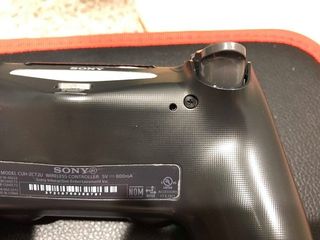
- Get a pin, paperclip, or some other type of thin poking device to jam in there.
- Push the button on the inside for a couple of seconds and then release.
- Connect your DualShock 4 controller to a USB cable that is connected to your PlayStation 4.

- Press and hold the PlayStation button on the center of your controller. This will prompt another attempt to resync.
Sometimes, during the PS4 controller troubleshooting process, it just fails to sync with the console. It's worth noting that the PS4 uses a standard Bluetooth connection, so if you use your controller with multiple devices — such as your PC, smartphone, or tablet — you'll want to make sure it's not connected to anything else while you're trying to connect it to your PS4.
If you're still experiencing issues connecting your DualShock controller to your PS4, it could also come down to the USB cable you're using. I've had cables that perfectly charged my phone, but won't connect my controller to the PlayStation. That's mostly due to small dents the DualShock is sensitive to that other forms of technology aren't. So I bought a cable specifically for charging my DualShock and don't use it for anything else to avoid accidental damage. Even then, I find myself replacing the cable at least once a year.
What to do when your PS4 controller doesn't charge
- Test your USB cable on another device to confirm that it's working.
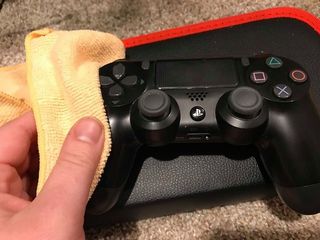
- Plug your USB cable into the DualShock and give it an inspection with the lightest touch.
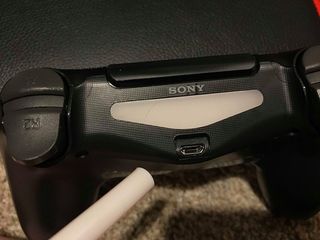
- If your USB cable feels loose or otherwise not secure, you will need to replace either the USB cable or the DualShock itself.
When you remove the cable from your DualShock controller, give it a good inspection. Use the flashlight on your phone and shine it into the charging port. If the metal inside looks bent or warped, you can either attempt to bend it back into shape yourself, call upon a professional to do it for you, or replace the entire controller. We do not recommend attempting to bend the metal back into place yourself, as it might break the warranty of your device.
Be an expert in 5 minutes
Get the latest news from Android Central, your trusted companion in the world of Android
Regardless of whether or not the metal inside of your charging port looks OK, it might be dirty. If you are noticing a bit of dust or grime buildup, follow these next steps.
- Get a can of compressed air.
- While the nozzle is two to three inches away from the charging port, blast air inside in short bursts to knock the dust loose.
- Do your best to knock all of the dust out of the DualShock, and don't just knock it loose.
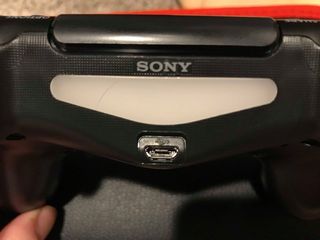
- Once the dust is out, use a microfiber cloth to clean up the residue.
- If there is grime inside your controller (from either spilled drinks or otherwise), continue cleaning.
- Make sure your DualShock controller is either completely dead or turned off. I prefer letting the controller be completely dead because it prevents the accidental turn-on, but allowing a controller to die when it can't connect to the PSR (and constantly turns off because of it) is a hassle. Just make sure you're careful not to turn it on by accident.
- Grab a toothpick or a different type of thin needle.
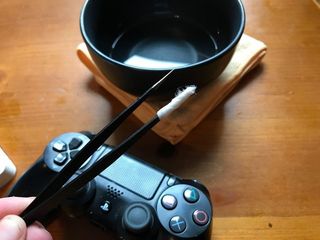
- Wrap a very slightly damp paper towel around the toothpick. You only need a very small amount. Less than a 1-inch square should do you just fine.
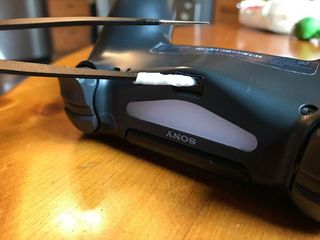
- Use your new tool to gently wipe out the inside of the charging port until you're satisfied with the results.
Wait for the controller to be completely dry before attempting to turn it back on. Do not use the can of compressed air to speed this process up. You'll just end up pushing the water back into the controller.
What to do if your PS4 controller trackpad is not working
- Turn off your controller and back on again.
- Make a 50/50 measured solution of isopropyl rubbing alcohol and water.
- Use a microfiber cloth to slightly dampen with the solution.
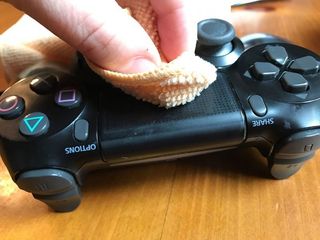
- Use the microfiber cloth to clean your trackpad.
Wait for the controller to be COMPLETELY dry before attempting to turn it back on. Do not use the can of compressed air to speed this process up. You're just going to end up pushing the water back into the controller.
Beyond that, a broken trackpad is cause for repair or replacement. However, it won't do you any good to try and replace it because the part is not readily available. Also, you would potentially compromise your controller's USB port since the trackpad is connected by the same ribbon that powers it.
What to do if your PS4 controller buttons are sticking
- Make a 50/50 measured solution of isopropyl rubbing alcohol and water.
- Use a microfiber cloth to slightly dampen with the solution.
- Use the microfiber cloth towel to wipe around the exterior of the buttons. Do not press too hard so you can avoid squeezing the solution off of the cloth and into your controller.

- Allow the controller to dry entirely before attempting to turn it on again.
- Try pressing the buttons now.
Wait for the controller to be completely dry before attempting to turn it back on. Do not use the can of compressed air to speed this process up. You're just going to end up pushing the water back into the controller.
What to do if PS4 controller can't hold a charge
While we love the PS4 controller, one downside that we can't get over is its lack of a user-replaceable battery. This is because batteries tend to degrade over time, and some of them degrade so harshly that they can fail to hold a charge for more than an hour.
If your controller is dying too fast -- or worse yet, it simply won't turn on -- it could be due to a bad battery. Replacing it is pretty easy, thankfully. All you'll need to do is buy a replacement battery, a pair of tweezers, and then follow the instructions below.
Note: You may void your warranty if you take your PS4 controller apart yourself. Be sure that your warranty is no longer valid and no other means to repair or replace the controller can suffice before attempting this.
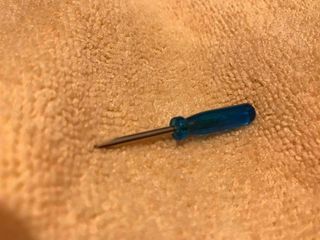
- Use your tiny Phillips-Head screwdriver to remove the four screws on the back of your DualShock controller.
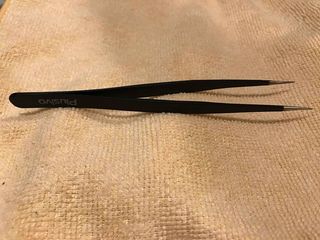
- Use a pair of tweezers inside of the seam of the controller to pull it apart at the bottom. Start with one side of the controller at the bottom of the handles and then move to the other. Do not start in the middle.
- Use a pair of tweezers inside of the seam of the controller to pull it apart at the top. Start near the Share and Options buttons and then move on doing this at the trigger buttons.
- Your controller should be separated by the frame, but still attached by a ribbon. Detach this ribbon from the motherboard by pulling it straight up. Be careful with this step. You will need to put it back together later.
- Use a pair of tweezers to detach the battery cables from the motherboard. Do this by gently rocking them back and forth until they are loose and removed.
- Attach your new battery by plugging it's battery into the port you just removed the old battery with.
- Attach the ribbon back to the motherboard.
- Connect both sides of the shell back together.
- Replace the screws on the frame.
And there you have it! One shiny new battery to enjoy a much longer lifespan with!
Nothing worked. What do I do now?
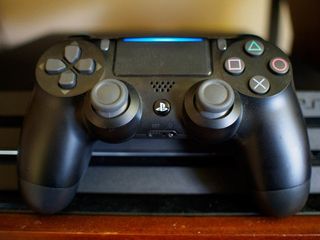
If none of the above worked or you are uncomfortable performing some of these troubleshooting steps, then perhaps it's time to give Sony a call. Ask them about your warranty, see what's covered, and what you can do to get repairs or replacements.
Since the controller gets the most mechanical wear out of all your components no amount of tender love can stand up to the long-term effects of regular use. At the end of the day, if none of these tips are working, you'll need to replace your DualShock controller entirely. Don't worry. We've found the cheapest place to buy a DualShock and the coolest options that are out there! Check it out below!
Everything you need to repair or replace
Here are all the products we used in this guide to repair a DualShock controller. If the repairs didn't work for you and your DualShock is out of warranty, here are the best buying options for replacements.
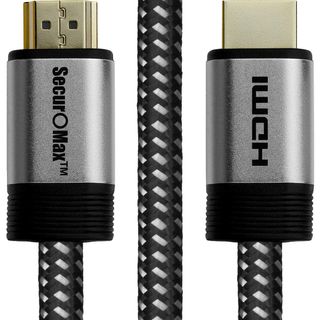
SecurOMax HDMI braided cord cable - 15 feet ($12 at Amazon)
If you need a new HDMI cable, you definitely want to use the braided cords for durability. This HDMI cable is 15 feet long to give you more than enough length to set up your console however you want to.
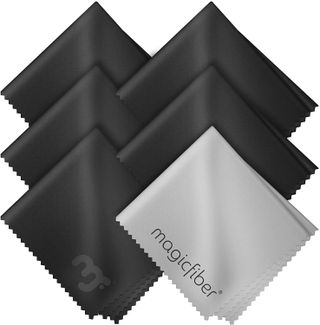
6-Pack of MagicFiber microfiber cleaning cloths ($9 at Amazon)
When you think about microfiber cloths, you usually assume they're only good for glasses, screens, or computers. But you can also use them with your PlayStation 4 as well.
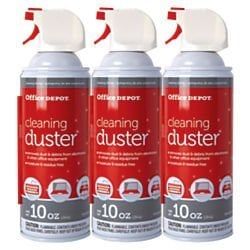
3-Pack of Office Depot compressed air cans ($18 at Amazon)
One of the things that all tech gurus should have available is a can of compressed air. It's not only handy for your PS4 but can be used for your keyboard, laptop, and other gear.
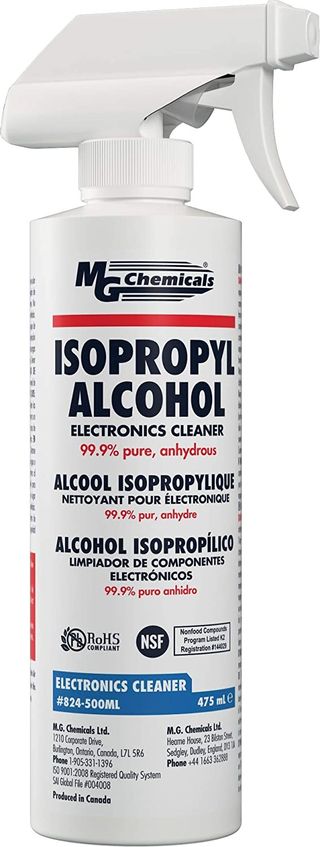
MG Chemicals 99.9% isopropyl alcohol electronics cleaner ($16 at Amazon)
This spray bottle of 99% isopropyl alcohol is perfect for disinfecting and cleaning your gear. It removes water and humidity from sensitive components like circuit boards and connectors, leaving them dry.
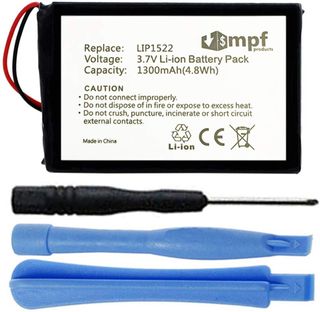
MPF Products DualShock 4 battery replacement kit ($15 at Amazon)
This kit comes with a battery replacement and tools to help you take apart your DualShock for repairs. Thick plastic tools tend to make the job a little flimsy, which is why I prefer to use thin tweezers instead. If you prefer that route as well, check out the best tweezer option below!
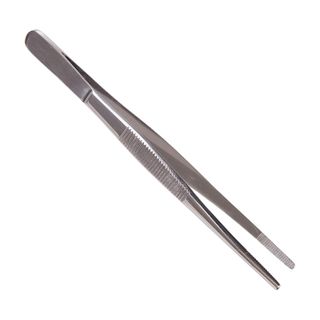
MABIS stainless steel tweezers ($5 at Amazon)
Tweezers are endlessly useful in both the tech and beauty world. This is the perfect tool always to have sitting around your house, from shaping up your eyebrows to taking apart motherboards!
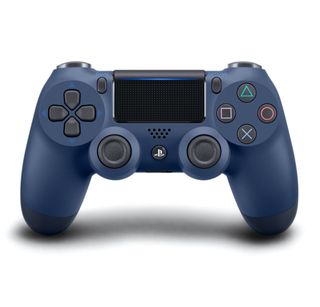
DualShock 4 wireless controller ($60 at Best Buy)
If you have to replace your DualShock, you might as well personalize it. There are plenty of different color options for you to choose from, all of which are gorgeous!

